Merry Christmas everyone, I do hope you are all enjoying the season of giving! Christmas wouldn’t be Christmas without my traditional baking and I like to change it up every so often and so I’ve added a couple of new items to my existing Christmas Repertoire and one is Sponge Toffee. I began my Christmas baking at the end of November anticipating that I will be busy with the food styling assisting and I am SO GLAD I did because I have BEEN BUSY! I’m ready to take bookings for the new year, so if you need a passionate, determined assistant or recipe tester, please give me a shout.
2013 Christmas Baking Round Up
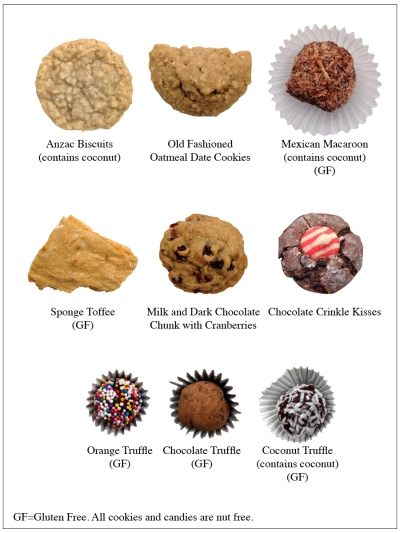
I made 9 different goodies this year.
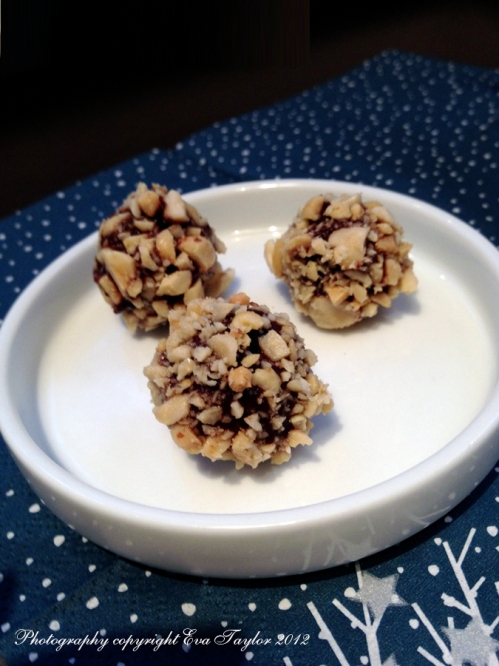
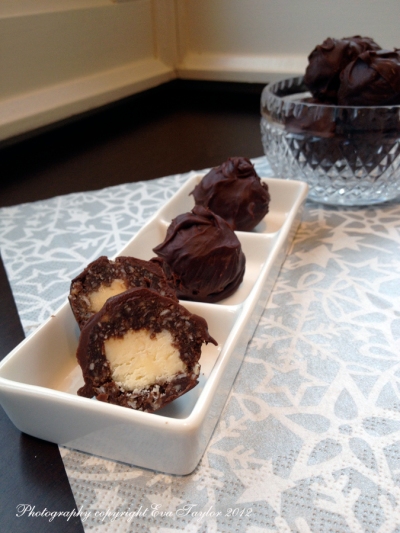
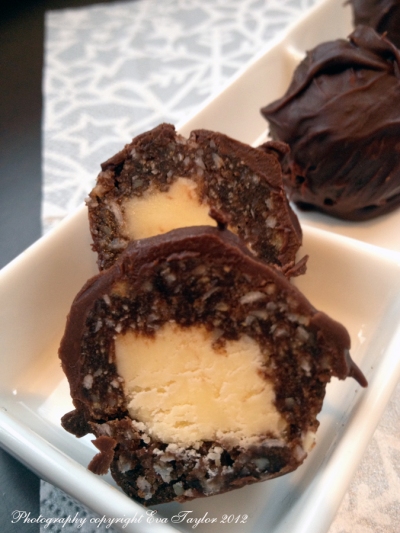
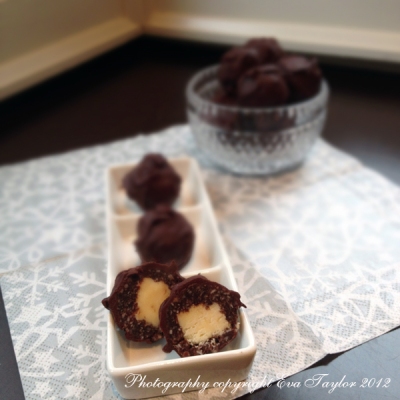
I know the Anzac Biscuit is made only during certain times in Australia, but this delicious oat cookie has become a fast favourite in our home so I like to make the treat for the holidays. And it wouldn’t feel like Christmas without Date Filled Oatmeal Cookies. I also like to include a few Gluten Free options, Mexican Macaroons (which I made using almond flour instead of white flour). Milk and Dark Chocolate Chunk with Cranberries are a favourite recipe from my friend Barb (Profiteroles and Ponytails) and this year I added dried cranberries to the batch to make them a little more festive. And last but not least, the delightful Chocolate Crinkle Kisses that really embrace the festive season with the lovely candy cane kiss! I even snuck in some wonderfully easy truffles because I was given 4 kgs of chocolate chunks from a photoshoot, so I really needed recipes that used a lot of chocolate. The truffles are with Chocolate, Chocolate Orange and Chocolate Coconut truffle flavours. I just realized I have not posted this recipe before so I will remedy it over the holidays, they are really easy to whip up. I hope you enjoyed the round up, stay tuned for a few more festive recipes over the holidays.

Make sure your baking soda is fresh otherwise it won’t puff up properly!
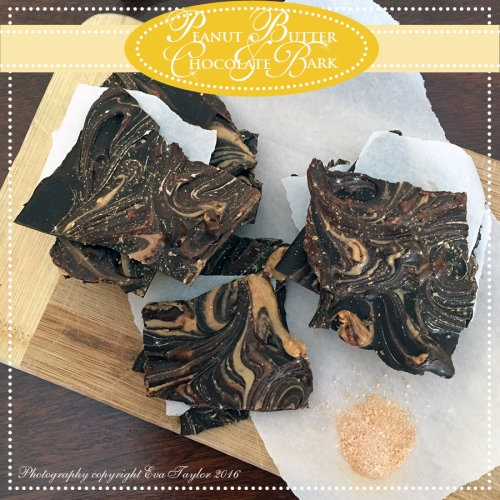
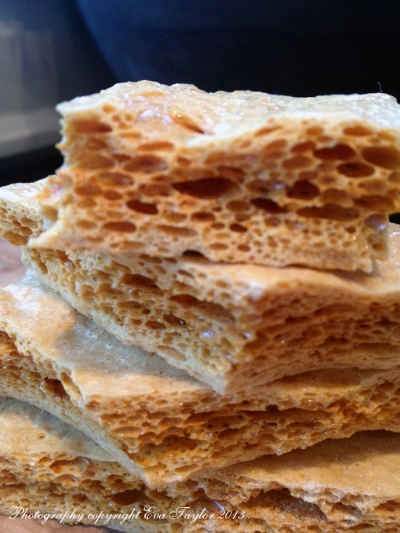
Sponge toffee is a favourite of mine since my childhood. I remember my Mom buying us a brick and eating it slowly over the course of a day or two. It’s quite decadent and I am so happy to have made it because it brings back so many wonderful childhood memories. This is a simple recipe and you could easily fancy it up by dipping one end into cooled melted chocolate just like that famous chocolate bar! I’ve kept this recipe simple without any extra flavourings, but you can go ahead and add a little vanilla or other extracts to jazz it up.
It’s very easy but you need two essential things: 1. an accurate candy thermometer and 2. FRESH baking soda (bicarbonate of soda). Prepping all the ingredients and equipment is also necessary because once the candy starts to cook, you will need to focus your attention to it.
Sponge Toffee
Makes about 10″ x 12″ x 1.5-2″ thick block. I googled a number of recipes and videos to help make this toffee.
Ingredients:
- 1 c granulated sugar
- 1 c golden corn syrup
- 1 tbsp baking soda
Directions:
- Prepare a baking sheet by spraying it with non-stick cooking spray and lining it with parchment paper. Set aside.
- Mix together the sugar and corn syrup in a large heavy bottomed pan with an accurate candy thermometer attached. Put the pan onto medium heat and stir until the sugar dissolves (about 4 minutes).
- Cook this syrup until it reaches 300° F (about 10-15 minutes). Your syrup will turn golden.
- When it reaches 300° F, remove it from the heat and sprinkle on the baking soda (I found it to distribute more evenly by using a fine sieve), mix gently with a wooden spoon being careful not to over mix because it WILL deflate. This mixture will bubble up a great deal and that’s why you need a large pot.
- Gently turn out the bubbling candy onto the prepared cookie sheet and allow it to spread itself; DO NOT push it around, just leave it. The beauty will be the variety of thicknesses. Allow it to cool and harden.
- When it’s cool, remove the hard sheet to a cutting board and using the tip of a knife, allow the toffee to break apart in inconsistent shards. Alternate finishes: Dip one end into melted chocolate (slightly cooled).
- Store in an airtight container and enjoy responsibly.
Sweet, sticky caramel, you old smoothy!
Read Full Post »