I just noticed that WordPress is adding advertising into my content in links which are not mine. How to tell the difference is that my links have a dotted underline and the ad links are solid and dotted together. Not cool at all.
Last week I was blown-away flattered by my Hungarian friend Zsuzsa (Zsuzsa is in the kitchen) when she invited me to participate in a blogging event to post your Easter Menu! You can read about Zsuzsa’s Easter here; she grew up very close to where my Mom grew up in Budapest. It’s really just a round up of past post recipes and a little bit about your Easter memories. How could I say no? Thank you Zsuzsa, I would be honoured. Zsuzsa is taking part with the following Hungarian ladies: The author of this event, Éva from Takarekos Konyha (this blog is in Hungarian) and Elizabeth from Food and Thrift.
Growing up, Easter was always about bunnies for me. Yes, we went to church and all that but let’s be honest, it was about the bunnies! At eight years old, my very first pet bunny was an albino Dutch whom we called Boom Boom (he was called Boom Boom because he stomped his hind feet loudly). Sadly good old Boom Boom only lasted 3 years, but he made such an impression on me that I’ve only ever had bunnies as pets! I cried so much when he died that my Dad swore he would never let me have another pet because losing them made me too sad and he just couldn’t bear it. I was sixteen before I was permitted to have Boon, another albino Dutch but smaller than Boom Boom (no, we weren’t very imaginative with the names!). But I digress, back to Easter.

Mom and Dad in Edmonton with the Chrysler Tour in 1960
You already know that my Dad was a Puppeteer (and if you don’t, you can read about it here) and we had a family business with the puppet shows. Easter was a big time for us, these holidays meant that the malls, schools (note that this link is NOT mine) and some companies needed entertainment for their events and what’s not to like about a puppet show? So many of our Easters were on the road with the show. In fact, Boom Boom was first adopted because my Dad needed a live bunny for the show (he was the star, don’t worry, it was all very humane).
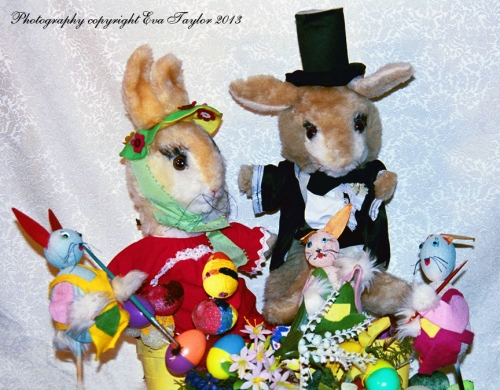
Believe it or not, the Show was about Bunnies.

And there were singing Eggs too
But Easter also had a serious side: FOOD! Chocolates, coloured eggs and of course, ham. I don’t have many of the recipes that we had at Easter but I’ve gathered a bunch I am going to have this weekend when we have JTs family for Easter Sunday lunch. I hope you enjoy them.

My Mom only used Canada Grade A Large size eggs
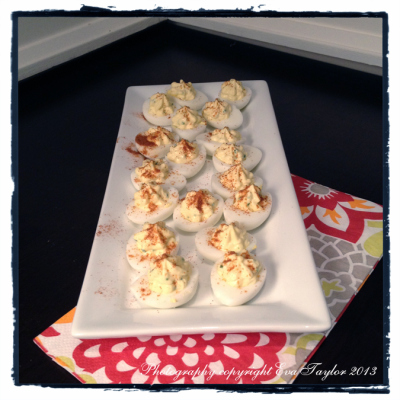
Hors D’œuvres were usually Deviled Eggs (here and here) and French Salad (Francia Saláta). I don’t have a post about Francia Saláta, but you can see Zsuzsa’s recipe here (my Mom never put potatoes in her version). I may do a new hors d’œuvres recipe I saw on my friend Lorraine’s blog of her recent trip to Amman, Jordan. It involves cheese and phyllo pastry, that’s all I can give you!

A wonderful addition to any Easter table
We usually had an Easter kalács (Zsuzsa made a gorgeous one here) but I’m making John’s Easter Cheese Bread instead.

The most succulent tenderloin ever
We’ve decided to go nontraditional and have a beef tenderloin for lunch. This recipe is my favourite way to serve this special cut of meat.

The only place you’ll miss the potatoes is on your waist-line!
I’m going to serve it with my traditional Celeriac Cauliflower Mash. And a wonderful lemony Asparagus from my friend Greg’s Rufus’ Guide.

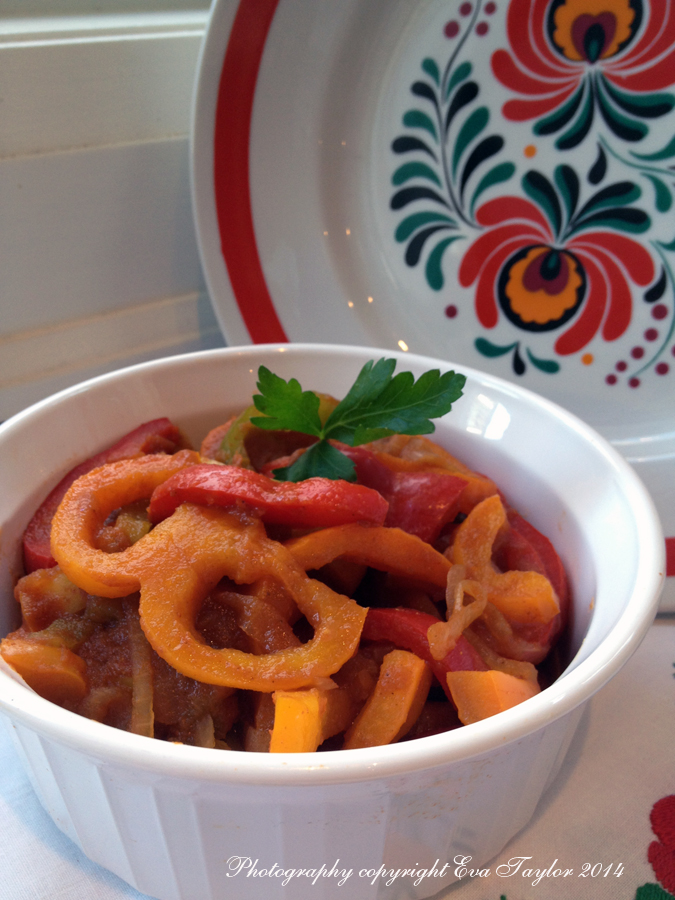
It’s a symphony of colours
And a little tangy German Purple Cabbage Slaw.
Now if you had any room for dessert, I’m going to make Charle’s Sweedish Apple Cake (from Five Euro Food), which totally looks like the perfect ending to a rich and heavy meal. It’s really just all apples and then there’s more apples. The only flour in this is the use of the breadcrumbs as the base, thickener and likely adds a little texture. I love that I can make it sugar free too, since I have a diabetic and a hypo-glycemic in the house — I like to make only one dessert that everyone can enjoy and not make the person feel odd that they have something else.
I may not be able to comment on your blogs for the next few days but I’ll definitely read up when I get back into civilization with internet. Thank you for reading my blog and leaving comments, you really, really make my day. Thank you to every one of the blogs I read, you provide me with the inspiration for my blog and it really wouldn’t be the same without you!
Happy Easter to All!
Read Full Post »